


Introduction: Demystifying the Electric Scooter Learning Curve
Are electric scooters easy to ride? For anyone considering this efficient form of personal transport, the answer is a definitive yes. Modern electric scooters are engineered for intuitive use, with a rapid learning curve that surprises most first-timers.
This comprehensive guide provides a data-backed framework for beginners. We will dissect the core mechanics that make riding simple, outline a safe, step-by-step practice plan, and analyze the factors that influence difficulty.
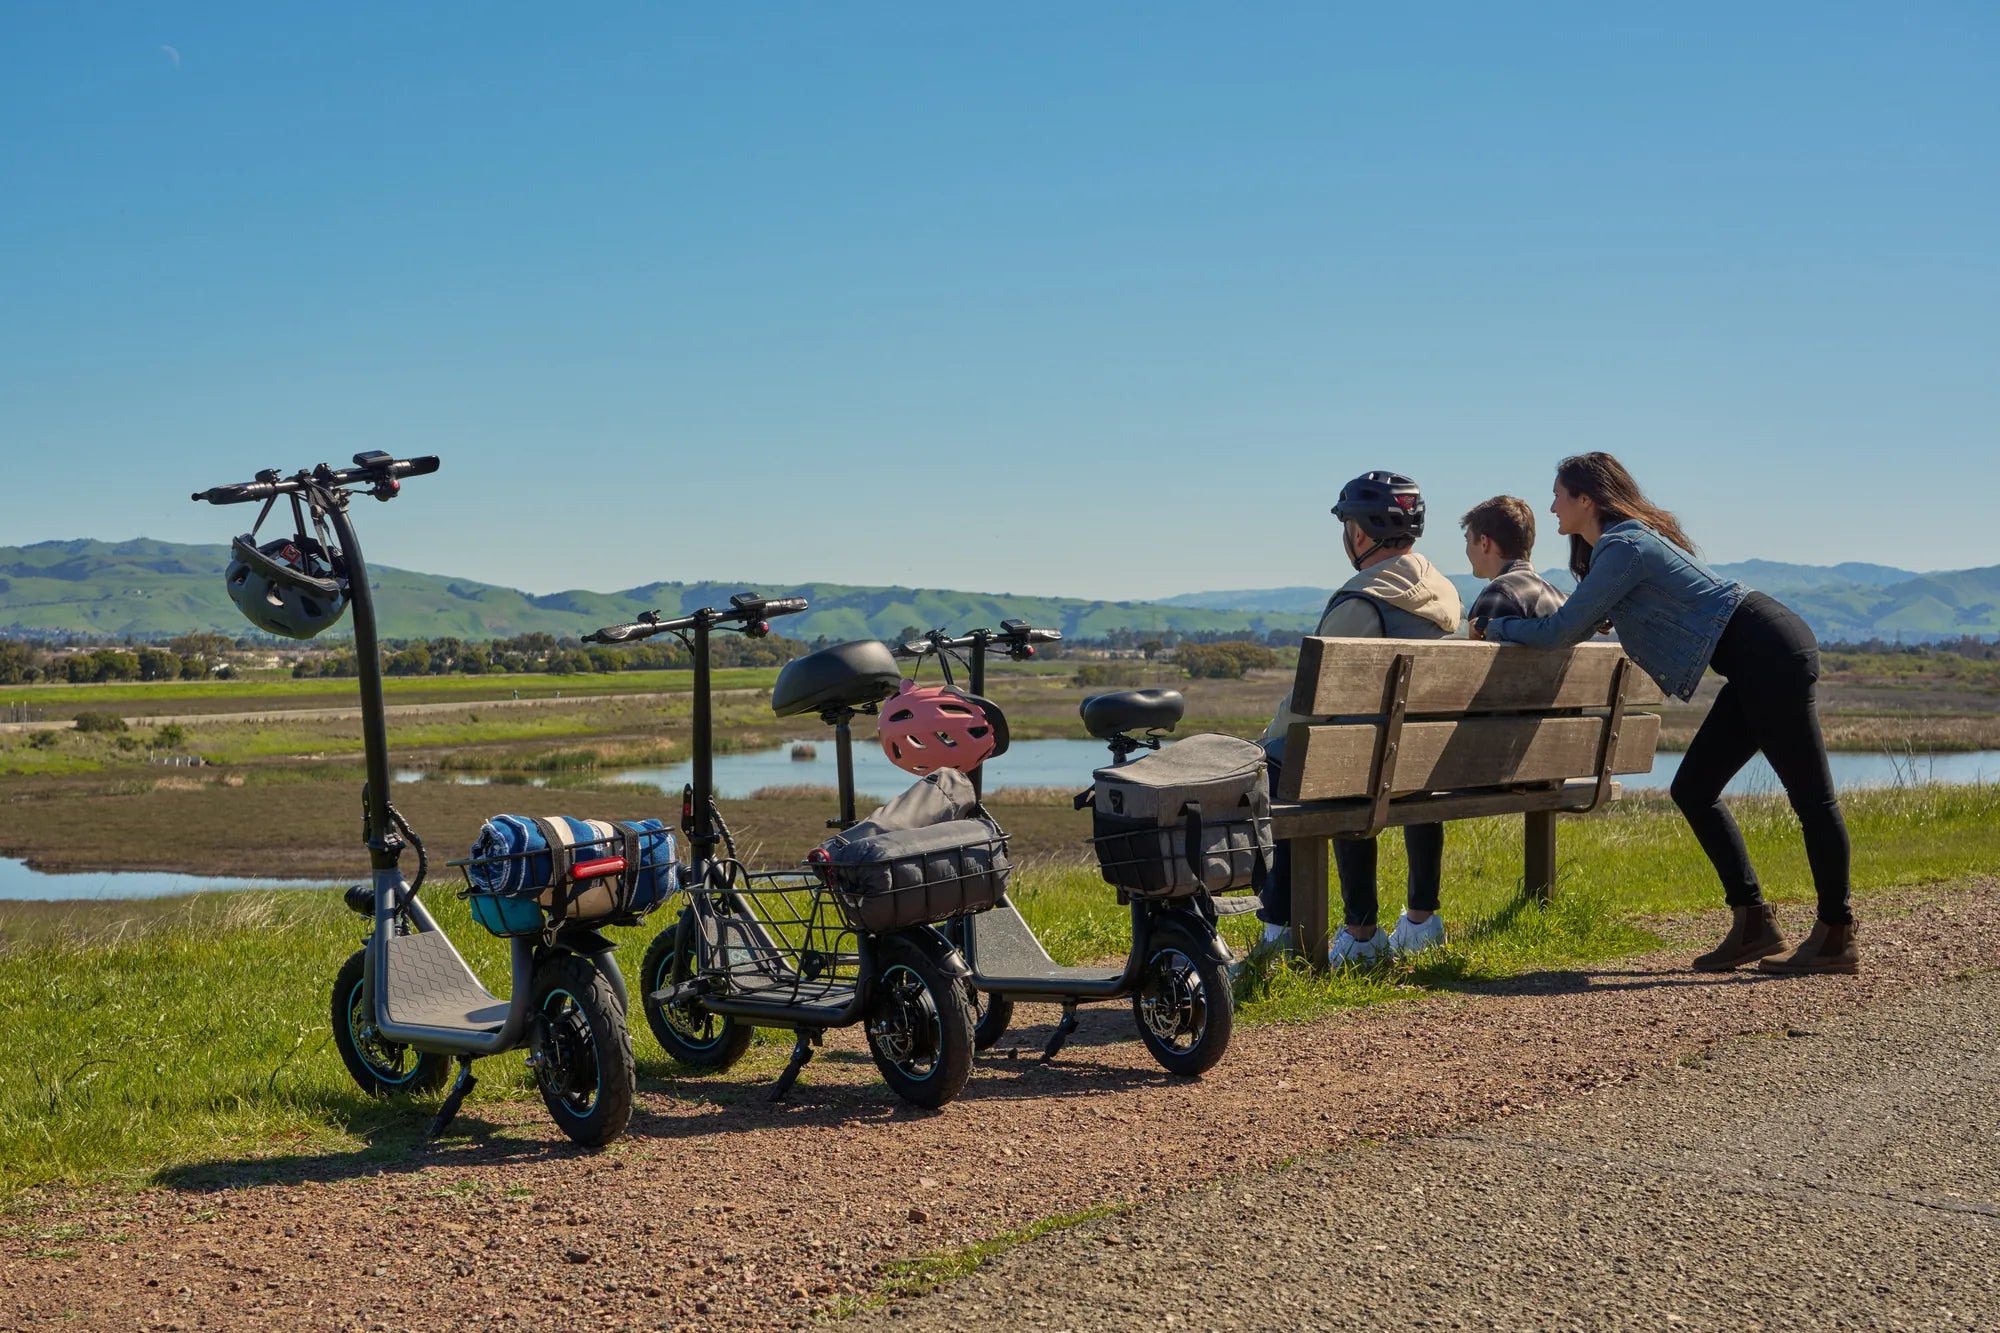
Understanding these elements transforms initial apprehension into confident skill. With over 100,000 riders trusting brands like Gyroor for their UL-certified safety and reliable performance, the path to easy riding has never been clearer.
The Core Mechanics: Why E-Scooters Are Intuitively Designed
Electric scooter design prioritizes user-friendliness. The platform places the rider's center of gravity low and between the axles, creating inherent stability. This is a fundamental advantage over bicycles, which require active balancing at low speeds.
Controls are simplified to essential inputs: acceleration and braking. This reduction in complexity allows new riders to focus on balance and environmental awareness rather than gear-shifting or complex coordination.
Modern scooters feature gradual power delivery systems. This prevents jerky starts, a common concern for beginners. Brands like Gyroor design their throttle response to be smooth and predictable, enhancing control from the first press.
Understanding the Basic Controls
Mastery begins with knowing your scooter's interface. The thumb throttle, typically on the right handlebar, controls acceleration. A gentle press engages the motor; releasing it initiates regenerative braking on many models.
The brake lever, usually on the left, activates the mechanical brake (disc or drum). Some models include a foot brake on the rear fender. The digital display shows speed, battery level, and riding mode.
Essential buttons include the power switch and, often, a mode selector to cycle through speed settings. Beginners should always start in the lowest speed mode. Integrated lights are controlled either manually or automatically for safety.
The Role of Weight Distribution and Balance
Proper stance is the cornerstone of easy riding. Stand with feet slightly staggered, not parallel, on the deck. Keep a gentle bend in your knees to absorb bumps and maintain a low center of gravity.
Your weight should be centered. Leaning forward slightly during acceleration and shifting weight back during braking improves control and prevents nose-diving. This active posture is simpler than the seated balance required for cycling.
Mounting and dismounting are straightforward. Always kick off to start moving before engaging the throttle, and step off backward when stopping. This process is less daunting than balancing a bicycle at a standstill.
Getting Started: Your First Ride in 5 Safe Steps
A structured approach eliminates guesswork and builds foundational skills safely. This five-step plan progresses from static checks to controlled real-world practice. Dedicate 30-45 minutes to these steps in a secure, traffic-free area.
Rushing leads to mistakes. Each step builds muscle memory and confidence. The goal is not just to move, but to develop predictable, safe control over the scooter.
Step 1: Pre-Ride Safety and Gear Check
Safety is non-negotiable. A certified bicycle or multi-sport helmet is mandatory. Consider knee and elbow pads, and gloves for added protection. Visibility is key, so wear bright or reflective clothing.
Conduct a scooter safety check. Verify tire pressure is correct (for pneumatic tires), test that both brakes engage firmly, ensure the folding mechanism (if present) is locked, and confirm the battery has sufficient charge. Visually inspect for any loose parts.
Step 2: Finding Your Balance in a Safe Zone
Begin with the scooter powered OFF. Find a flat, smooth, and empty area like a parking lot or quiet driveway. Practice mounting, standing in the correct posture, and kicking off to glide.
Glide for several meters, using your foot to brake. This isolates the skill of balancing on the deck without the variable of motor power. Practice gentle turns by leaning and steering. Spend 5-10 minutes here until standing feels natural.
Step 3: Mastering Acceleration and Braking
Power the scooter on and ensure it's in its lowest speed or beginner mode. From a standing start, gently press the throttle. Focus on smooth, incremental acceleration.
Practice braking to a complete stop from low speed. Use both the electronic brake (by releasing the throttle) and the mechanical brake lever together for the most controlled stop. Repeat this accelerate-brake cycle until it feels instinctive.
Step 4: Practicing Turns and Maneuvers
At low speed, practice wide, sweeping turns. Initiate turns by leaning your body slightly in the desired direction while steering the handlebars. Keep your eyes looking through the turn, not down at the deck.
Set up small obstacles (like water bottles) and practice gentle swerves. This builds skill in path selection and subtle steering input. Avoid sharp turns at any speed, especially when learning.
Step 5: Graduating to Real-World Scenarios
Once comfortable with basic controls, plan a very short trip on a smooth bike path or quiet residential street. Practice starting from a stop on a gentle incline.
Scan ahead for hazards like cracks, gravel, or drainage grates. Use your lights. This step integrates control with environmental awareness, completing your foundational training.
Key Factors That Influence Ride Difficulty
While the baseline is easy, several variables can affect the learning curve. Understanding these allows you to choose the right equipment and anticipate challenges. Proactive management of these factors ensures easy riding transitions to diverse conditions.
Data from rider feedback indicates that mismatched scooter choice is a primary source of perceived difficulty. A scooter suited to your weight, terrain, and skill level feels intuitive; an unsuitable one feels daunting.
Scooter Specifications: Power, Weight, and Tire Size
Specifications directly impact handling. A lightweight commuter scooter (under 30 lbs) with a 250-350W motor and 8.5-inch air-filled tires is agile and forgiving for beginners. It accelerates gently and is easy to carry if needed.
Conversely, a heavy off-road scooter (50+ lbs) with a 500W+ motor and 10-inch knobby tires offers power and capability but requires more strength to maneuver at low speeds and manage its momentum. Beginners should match the tool to the task.
For example, Gyroor's commuter-focused models emphasize a balanced weight-to-power ratio and puncture-resistant tires, simplifying the experience for new urban riders.
Terrain and Environmental Conditions
Pavement quality is critical. Smooth asphalt is easiest. Bumpy brick, cracked concrete, or gravel require more attention, slower speeds, and bent knees for suspension.
Wet conditions significantly increase stopping distances and the risk of slipping, especially on solid tires. Scooters with an IPX5 water-resistance rating, like many Gyroor models, protect the electronics, but riders must still exercise extreme caution on wet surfaces. Hills demand more power and careful brake management on descents.
Local Traffic Laws and Urban Navigation
Mental load affects perceived difficulty. Knowing you are riding legally reduces stress. Laws vary wildly: some cities mandate bike lanes, others prohibit sidewalks; speed limits and helmet laws differ.
Urban navigation requires defensive riding. Be predictable, signal turns with your arm, make eye contact with drivers, and never assume right-of-way. Plan your route to use bike infrastructure where possible. This strategic riding is a skill separate from basic scooter operation.
Data-Driven Confidence: How Safety Features Make Riding Easier
True ease of mind comes from reliable technology. Safety features are not just about preventing accidents; they reduce cognitive load by eliminating worries about scooter failure. This allows the rider to focus on the ride itself.
Investing in a scooter with robust safety engineering is an investment in a stress-free experience. For a beginner, this foundation is invaluable.
The Critical Importance of UL-Certified Batteries
A UL 2271 or UL 2849 certification is the industry benchmark for electrical and fire safety. It means the battery pack has undergone rigorous testing for overcharge, short circuit, crush, and drop scenarios.
This certification removes a major source of anxiety. Riders can charge their scooters at home or work without concern. Gyroor's commitment to using UL-certified battery packs across its lineup provides a fundamental layer of trust for over 100,000 riders.
How Water-Resistance (IPX5) Expands Your Riding Options
An IPX5 rating means the scooter's electronics can withstand water jets from any direction. In practical terms, this protects against rain, puddle splashes, and wet road spray.
This feature eliminates the panic of getting caught in a sudden drizzle. It turns a fair-weather vehicle into a reliable daily commuter. The psychological comfort of knowing your scooter won't fail due to a bit of water makes riding in changeable climates much easier.
The Value of a Reliable Warranty and Support
A comprehensive warranty, such as Gyroor's 1-year coverage, is a safety net. It signals the manufacturer's confidence in its product and protects against manufacturing defects.
Accessible customer support means help is available if questions arise. This after-purchase support system allows beginners to learn and ride with the assurance that any legitimate issues will be resolved, making the entire ownership experience smoother and more enjoyable.
Electric Scooter Comparison: Matching Models to Beginner Needs
Choosing the right scooter simplifies learning. This table compares common scooter types against key beginner-friendly criteria.
| Scooter Type | Typical Power | Key Beginner-Friendly Features | Best For | Considerations |
|---|---|---|---|---|
| Lightweight Commuter | 250W - 350W | Low weight (<30 lbs), simple controls, air-filled tires for comfort, often UL-certified. | First-time riders, short urban trips, easy portability. | Limited hill climb; range suited for short commutes. |
| Mid-Range All-Rounder | 350W - 500W | Better suspension, longer range, dual braking systems, IPX5 water-resistance. | Beginners planning longer commutes or dealing with varied pavement. | Slightly heavier; requires more storage space. |
| Heavy-Duty / Off-Road | 500W+ | High torque for hills, rugged suspension, large knobby tires for traction. | Beginners in very hilly areas or who need to traverse rough paths. | Steep learning curve due to weight and power; less portable. |
For most beginners, a Lightweight Commuter or Mid-Range All-Rounder provides the ideal balance of ease, safety, and practicality.
Frequently Asked Questions for New Riders
Q: How long does it take to learn to ride an electric scooter?
A: Most adults achieve basic comfort and control within 15-30 minutes of focused practice in a safe area. Full confidence for varied urban environments typically develops over a few days of regular short trips.
Q: Do I need a license or insurance to ride one?
A: Regulations vary. In most U.S. states and European countries, electric scooters under 20-25 mph (classed as "personal light electric vehicles") do not require a driver's license, registration, or insurance. However, many cities have local ordinances. Always check your specific city and state/provincial laws before riding.
Q: What's the hardest part about learning?
A: The initial coordination of throttle control while balancing is the most common hurdle. Starting in a low-speed mode and practicing Step 3 (acceleration and braking) thoroughly makes this easy to overcome. Managing anxiety in traffic is the next psychological challenge, solved by gradual exposure.
Q: Can I ride an e-scooter if I don't know how to ride a bike?
A: Absolutely. The balance skills are different and many find the standing, forward-facing posture of a scooter more intuitive than the seated posture of a bicycle. The step-by-step learning process outlined in this guide is designed to work for those with no two-wheeled experience.
Q: How do I maintain my scooter to keep it safe and easy to ride?
A: Regular maintenance is simple. Key tasks include: checking and inflating tires to the recommended PSI weekly, testing brake function before each ride, ensuring all bolts (especially around the stem and folding mechanism) are tight, and storing the scooter in a dry place. Refer to your manufacturer's manual for specific intervals.
Conclusion: Your Path to Confident and Enjoyable Riding
Electric scooters are fundamentally easy to ride due to their intuitive design and low learning barrier. The journey from first-timer to confident rider hinges on a structured approach: understanding the mechanics, following a safe practice regimen, and selecting a scooter engineered for reliability.
The data is clear. Features like UL-certified batteries, water-resistant construction, and a strong warranty are not mere specs; they are the pillars of a worry-free riding experience. They allow you to focus on the freedom and efficiency of personal electric transport.
Your next step is to begin. Find a safe practice area, gear up, and apply the five-step plan. Choose equipment from a brand that prioritizes your safety, like Gyroor, trusted by a global community of riders. The road to easy, enjoyable rides starts with that first, confident glide.
Ready to start your journey? Browse the full Gyroor collection of UL-certified, rider-tested electric scooters and e-bikes at gyroorboard.com.
Does NYC Have Electric Scooters? The Complete Guide to E-Scooters in the Big Apple
Electric Scooters Road Legal: Your Complete 2024 Guide to Rules & Safety