
Introduction to Scooter Kits: The Ultimate DIY Upgrade
An electric scooter kit is a transformative package of components designed to convert a traditional, human-powered kick scooter into a personal electric vehicle. The core appeal lies in customization, cost-effectiveness, and the deeply rewarding do-it-yourself experience. For urban commuters, hobbyists, and tinkerers, a scooter kit offers a unique path to a tailored mode of transport that matches specific needs for speed, range, and style.
This guide will provide a comprehensive, data-driven exploration of electric scooter conversion kits. You will learn the anatomy of a typical kit, understand the critical considerations before purchasing, and follow a logical installation roadmap. We will also examine the performance you can realistically expect and address the most common practical questions. The goal is to empower you with the knowledge to undertake a successful, safe, and satisfying build.
The market for personal electric mobility is expanding rapidly, and a scooter kit represents a hands-on entry point. Unlike off-the-shelf solutions, a kit project puts you in the driver's seat of both the construction process and the final riding experience. It's an investment in skill development and mechanical understanding, not just transportation.
Why Choose a Scooter Kit Over a Pre-Built E-Scooter?
The decision between a DIY scooter kit and a pre-built electric scooter hinges on your priorities: customization versus convenience. A scooter kit is the unequivocal choice for the hands-on enthusiast who values a tailored ride and the satisfaction of building it. It allows you to select a base scooter with a preferred deck size, handlebar height, and wheel type, then add electric power that meets your exact specifications for motor wattage and battery capacity.
Financially, a kit can offer significant savings, especially if you already own a sturdy kick scooter. You avoid paying for the integrated design, branding, and retail markup of a complete unit. Furthermore, a kit is a powerful tool for sustainability, repurposing an existing scooter frame and keeping it out of landfills, thus extending its functional life with a new electric heart.
In contrast, purchasing a complete e-scooter from a reputable brand like Gyroor offers distinct advantages: seamless integration, rigorous factory testing, and a comprehensive warranty. Pre-built models benefit from engineered harmony between the motor, battery, controller, and frame, often resulting in optimized performance and reliability out of the box. For riders seeking plug-and-play simplicity and guaranteed support, a finished product is the superior path.
| Factor | Scooter Kit (DIY) | Pre-Built E-Scooter |
|---|---|---|
| Customization | High - Choose components, modify frame | Low - Fixed design and specs |
| Upfront Cost | Potentially lower, varies with part quality | Higher, but value is in integration |
| Skill Required | Moderate to High (mechanical/electrical) | None (ready to ride) |
| Warranty & Support | Typically per-component, limited | Full unit warranty (e.g., Gyroor's 1-year) |
| Time Investment | Several hours to days for assembly | Minutes to unbox and charge |
| Performance Optimization | Dependent on builder's skill and part matching | Engineered and tested for balance |
The Anatomy of a Scooter Kit: Core Components Explained
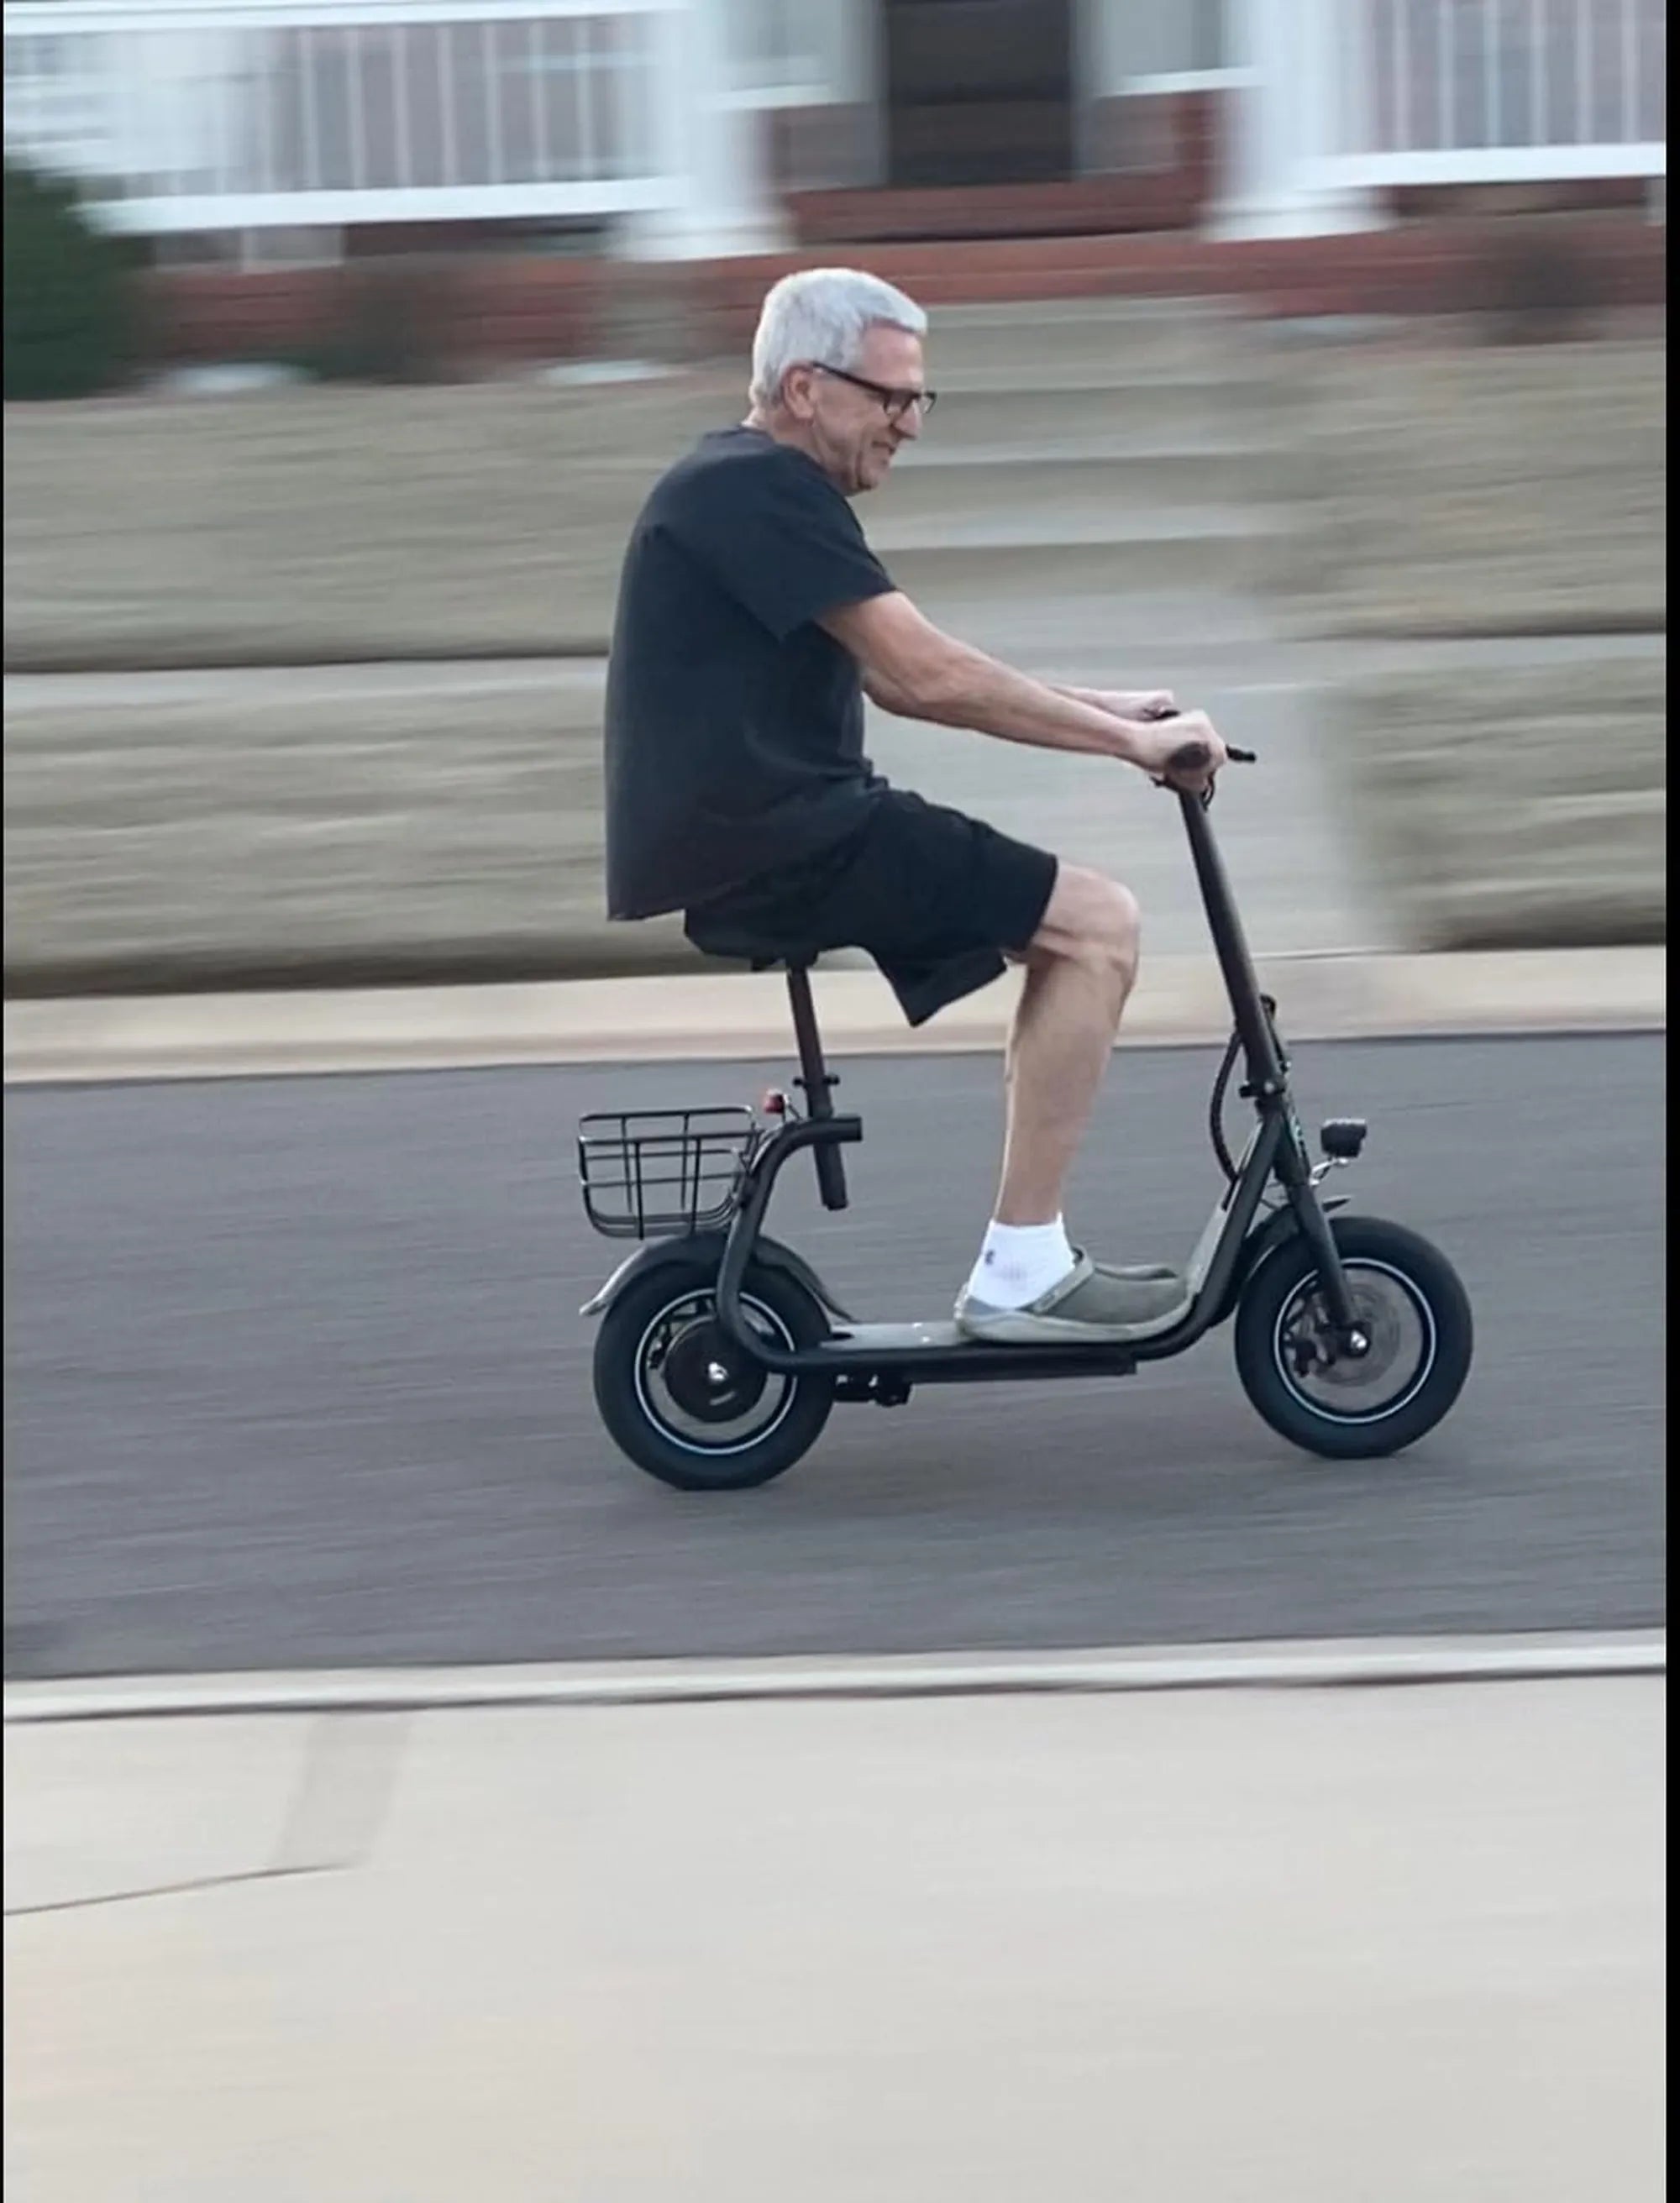
Every electric scooter kit consists of several core components that work in concert. The motor is the primary propulsion unit, typically a brushless DC hub motor integrated into the front or rear wheel. Motor wattage (e.g., 350W, 500W) directly influences torque and top speed. Belt-drive systems, while less common in kits, offer a different power delivery profile but add complexity.
The battery pack is the energy source, defined by its voltage (e.g., 36V, 48V) and amp-hour (Ah) capacity, which together determine range. Modern kits exclusively use lithium-ion chemistry for its high energy density and longevity. The controller is the electronic brain, regulating power flow from the battery to the motor based on input from the throttle.
The throttle, usually a twist-grip or thumb lever mounted on the handlebar, is the user interface for speed control. A complete wiring harness connects all these elements, and often includes connectors for a display (showing speed, battery level) and brake levers with motor cutoff sensors for safety. Understanding each part's function is crucial for troubleshooting and customization.
Key Considerations Before You Buy a Conversion Kit
Before purchasing a scooter kit, a thorough assessment of your base scooter is non-negotiable. The frame must be constructed of sturdy metal (typically aluminum or steel) to handle the added stresses of motor torque and higher speeds. The deck must have sufficient space and structural points to securely mount the battery pack and controller, which can be surprisingly heavy.
Wheel diameter compatibility is critical; the kit's motor wheel must match your scooter's existing wheel size (e.g., 8-inch, 10-inch) for proper fit and geometry. You must also define your performance goals: desired speed, range, and hill-climbing ability. A 350W kit may suffice for flat terrains, while 500W or higher is recommended for moderate hills.
Finally, and most importantly, research your local e-scooter laws and regulations. Many jurisdictions have specific limits on motor wattage, top speed, and where e-scooters can be ridden. Building a scooter that exceeds legal limits can result in fines or confiscation. Responsible building starts with understanding and adhering to local micromobility legislation.
Gyroor's Commitment to Safe and Reliable DIY Power
While Gyroor specializes in pre-built electric scooters and e-bikes, the brand's core engineering principles provide a vital blueprint for anyone selecting a scooter kit. Safety and reliability should be the foremost concerns in any DIY electric project. Gyroor's commitment to using UL-certified battery packs in all its products highlights an industry-best practice that kit builders must emulate.
UL certification for a battery pack means it has passed rigorous independent testing for electrical, mechanical, and fire safety. For a scooter kit, sourcing a battery from a reputable supplier that provides similar certification data is perhaps the single most important safety decision you can make, mitigating the risk of thermal runaway and fire.
Furthermore, concepts like IPX5 water resistance—a standard Gyroor designs to—should guide your build. Ensuring all electronic connections are properly sealed and the battery enclosure is protected from road spray is essential for all-weather reliability. Although a DIY kit won't come with a full vehicle warranty, choosing components that reflect the quality standards of leading brands (like the 1-year comprehensive warranty and proven reliability trusted by over 100,000 Gyroor riders) provides long-term peace of mind.
Step-by-Step: Your Scooter Kit Installation Roadmap
A successful scooter kit installation requires preparation, patience, and attention to detail. Begin by gathering all necessary tools, typically including hex keys, wrenches, screwdrivers, wire cutters/strippers, and electrical tape. Clear a clean, well-lit workspace. Thoroughly read the kit's manual before touching any components to understand the specific sequence and connections.
The first major mechanical step is often replacing the front or rear wheel with the new motor wheel. This involves removing the old wheel, ensuring the motor's axle fits into the scooter's fork or rear dropout, and properly tightening all fasteners with the included torque washers to prevent rotation. Proper axle alignment is critical to avoid wheel drag or instability.
Next, securely mount the battery pack and controller. Choose a location on the deck that maintains a low center of gravity and does not interfere with foot placement. Use sturdy metal brackets or high-strength adhesive mounts, never just zip ties alone, to prevent components from shaking loose during rides. Route the wiring harness neatly, using zip ties to secure wires away from moving parts and the ground.
Connect all electrical connectors as per the manual—throttle to controller, controller to motor, battery to controller. Double-check that polarities are correct before powering on. Perform final safety checks: ensure all bolts are tight, brakes are properly aligned and functional, and the motor cutoff sensors activate when brakes are applied. Begin testing in a safe, open area at low speed.
Performance & Practicality: What to Expect from Your Build
The performance of your converted scooter is a direct function of your kit's specifications and the efficiency of your build. A typical 350W scooter kit will deliver a top speed of 15-18 mph (24-29 km/h), while a 500W kit may reach 20-25 mph (32-40 km/h), depending on rider weight and terrain. Real-world range is determined by battery capacity (Wh = V * Ah) and riding style; a 36V 10Ah (360Wh) pack may provide 12-18 miles of range.
Hill-climbing ability is tied to motor torque. A 350W motor will struggle on steep inclines, potentially requiring rider assistance via kicking. A 500W or higher wattage motor will handle moderate hills more comfortably. For daily commuting, a well-executed DIY scooter kit offers tremendous utility, providing a fast, fun, and cost-effective alternative to driving or public transit for short-to-medium distances.
Maintenance for a DIY build involves regular checks that are more hands-on than for a pre-built scooter. Periodically inspect all electrical connections for tightness and corrosion, check tire pressure, ensure brake pads have sufficient material, and listen for any unusual noises from the motor or bearings. To maximize battery life, follow proper charging practices: avoid draining to 0%, don't leave on the charger indefinitely after reaching 100%, and store in a cool, dry place.
Frequently Asked Questions (FAQ)
1. Is it legal to convert my scooter with a kit?
Legality varies widely by city, state, and country. Most jurisdictions regulate e-scooters based on maximum motor power (e.g., 500W limit) and top speed (e.g., 15-20 mph). It is the builder's responsibility to research and comply with local micromobility laws, which may classify your DIY creation as a motor vehicle requiring registration, insurance, or helmet use.
2. How difficult is the installation for a beginner?
Difficulty is moderate. If you are comfortable with basic mechanical tasks (changing a bicycle tire) and can follow wiring diagrams, you can likely complete the installation over a weekend. However, if you are unfamiliar with electrical systems, seeking assistance from someone with experience is highly recommended to ensure safety and correct function.
3. Can I use any kick scooter for conversion?
No. You must use a sturdy, adult-sized kick scooter with a metal frame (aluminum or steel). Folding mechanisms must be robust. Cheap, all-plastic, or children's scooters lack the structural integrity to handle the added weight, speed, and torque, creating a significant safety hazard.
4. What's the average cost and time investment?
A quality scooter kit with a reliable battery ranges from $250 to $600. The time investment for a first-time builder is typically 4 to 8 hours of focused work, spread over one or two days. This does not include time spent researching, sourcing parts, or troubleshooting.
5. How does a kit's performance compare to a Gyroor pre-built e-scooter?
A professionally engineered e-scooter like those from Gyroor benefits from integrated design where the motor, battery, and frame are optimized together, often yielding smoother acceleration, better weight distribution, and proven durability. A kit's performance is highly dependent on the builder's skill in component matching and assembly. Kits excel in customization, while pre-built models excel in refined, tested performance and warranty support.
Conclusion: Empowering Your Ride, Your Way
Embarking on a scooter kit project is a journey that blends practicality with passion. It transforms a simple mode of transport into a personalized expression of technical skill and specific need. The process demystifies electric propulsion and grants unparalleled control over your commuting vehicle's character. The true value extends beyond the finished ride to include the knowledge and confidence gained through hands-on creation.
This guide underscores that success hinges on meticulous planning, selecting quality and safety-focused components, and a patient, careful assembly process. By applying principles championed by leading brands—such as prioritizing UL-certified batteries and robust construction—you build not just a scooter, but a reliable and safe personal vehicle. The open road of customization awaits, but it must be traveled responsibly.
Whether your goal is an economical commute, a unique hobby project, or a deeper understanding of electric mobility, a scooter kit delivers. It represents the empowering fusion of DIY ethos with modern electric technology. For those who prefer the assurance of a ready-engineered solution, exploring the refined performance and comprehensive support of a pre-built model is an excellent alternative. Ready to ride? Browse the full Gyroor collection of electric scooters and e-bikes at gyroorboard.com to see the high standard of integration and reliability that can inspire your own builds.
Fastest Class 2 Ebike: The Ultimate Guide to High-Performance 20 MPH Thrills
Mobility Scooter 450 lb Capacity: A Guide to Safety, Features, and Freedom